 If you’re looking to add some professional-looking photography to your website, your best bet is, of course, to hire a professional. However, we know that’s not always a readily available option. Sometimes, professional photography isn’t in the budget, or you just don’t have the time.
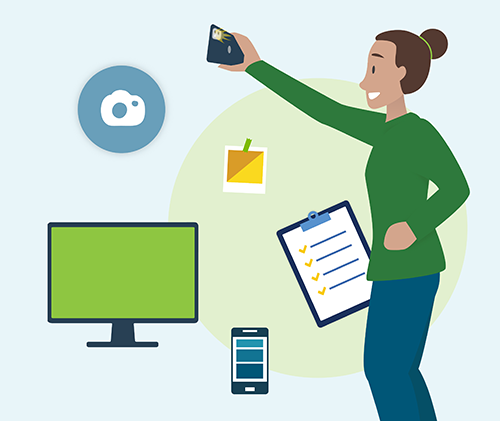
Everyday cameras, like those on our cell phones and laptops, are usually good enough—with a few simple tips, you can take professional-looking portraits at home. In this blog, we’ll share a few tricks to help you take better-quality portraits at home utilizing just a cell phone or webcam.
Best Practices for Taking Portraits at Home
The physical camera is only one piece of the puzzle. Even with the best quality equipment, your pictures won’t come out looking professional unless you pay attention to your lighting, posture, equipment, device settings, and smile.
1. Lighting
Choose a well-lit room, but avoid shining light directly on your face. For example, avoid sitting near a bright window or high-wattage light bulbs. For extra light, it’s your best bet to place lamps behind where you’re sitting, off-camera.
Unless you’re auditioning for a horror movie, don’t attempt to take a professional-looking portrait with a window behind you. The bright natural light can cause you to become a silhouette in the photograph.
2. Posture
When taking portraits at home, don’t become too focused on the equipment or lighting and forget about your posture. If you plan to sit for your picture, choose a chair that provides excellent support. Remember to sit up straight because poor posture is immediately apparent. Keep your shoulders back and relax your muscles.
3. Equipment
If you’re using a cell phone, always use the camera on the back of your phone. The quality of the front-facing camera is not as good as the rear-facing camera on most phones. Also, be sure to take your photos in landscape mode (horizontally). This technique will give you pictures that look good on larger devices, not just phone screens.
If you plan to use a webcam, make sure to switch the device from video to camera mode.
4. Equipment Settings
Depending on your device, you can enable features to make your at-home photo shoot even better.
If your phone has a setting that allows you to overlay a grid on your screen, use it. This feature helps you keep your phone level and avoid tilting your pictures. For iPhones, you can turn on the grid by navigating to Settings > Photos & Camera > Grid. We also recommend using your phone’s timer feature; that way, you have plenty of time to get ready for the perfect shot.
With a webcam, check to make sure your photo quality is the best it can be—we recommend 1920×1080. If equipped, you should also turn on your webcam’s HDR option. Finally, like a cell phone, take advantage of your webcam’s grid options and timer.
5. Smile
One of the most challenging parts of taking a self-portrait is nailing an authentic smile or expression. Once you’ve figured out your posture, take a few test photos to see how you look. Does your expression look forced? Try taking a couple of goofy pictures to lighten the mood and relax your face. The change in attitude can help make a smile feel more relaxed and natural.
Bringing the Human Touch to Technology.
Your business’s website is the digital front door to your business. If your website is looking out-of-date, or you need an entirely new website, we can help. Contact us to learn more about website services for your business.